How to improve your putting using a golf drill
As we approach the winter months with limited daylight and practice opportunities, I wanted to give you a putting drill which can be practiced inside as well as outside. I have a number of drills which can be used inside so keep your eyes open for my blogs and newsletters.
I really rate this “low cost” putting drill which I learnt from Michael Breed a top USA PGA Coach. The drill is not about holing the putt so we do not even have to aim for the hole. The drill is all about the putting stroke, working to achieve a “square” putter face at the moment of impact with the ball which is critical in maintaining a solid, consistent strike producing effective distance control.
Putting Drill
All you require 2 golf balls so there is no outlay for expensive training aids, it is certainly not complex or time consuming to set up which makes it so versatile for a short 5 minute practice in the warmth!
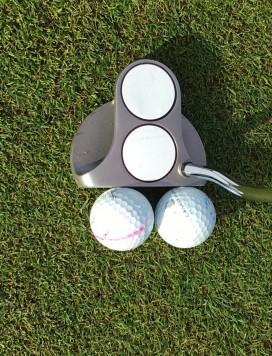
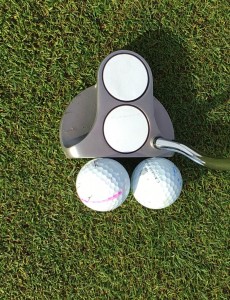
Simply position the two balls as shown in the image below touching the putter face assuming your putting stance.
Simply make your usual putting stroke taking note which ball, either the toe or the heel ball speeds off first therefore travelling the furthest. If you are a player who tends to hit your putts with the putter face “open” or pointing to the right the heel of the putter will strike the ball first resulting in the ball reaching its destination more quickly.
If this is the case try to feel the toe of the putter passing the heel at the point of impact resulting in the toe ball being struck first. You will notice the toe ball rolling quicker but with some practice the balls will start to roll more in unison.
The goal is to try to roll both balls at a similar speed which indicates the putter has made contact with the ball in a square position but you will know you have made a change as the distance between the balls becomes less.
Have a go! I know you will love it too


